The knead to know on working with dough

It's really not that scary.
I started making my own bread about 10 years ago. I was inspired by a co-worker who mentioned that she was going to be making her own bread that weekend. "You make your own bread?!" I said to her, amazed. She nonchalantly explained that this was a skill she learned from her mother, who regularly made bread for her family when she was growing up. Intrigued, I asked for the recipe. At first I was very intimidated by this process, and admittedly made a lot of classic mistakes. I wanted to share some simple insight to help you on your own bread-making journey.
The process of bread-making involves three main steps to ensuring a quality final product.
The yeast. The recipe for bread is actually very simplistic. For a standard bread recipe, you will really only need some combination of flour, yeast, salt, and water. The yeast is a very important ingredient, and one of the most common problems you might run into is killing the yeast due to using too hot of water. You see, yeast is a living organism and needs the right kind of care to thrive. To avoid killing the yeast, use a meat thermometer to make sure it's within a lukewarm range (120-130 degrees Fahrenheit).
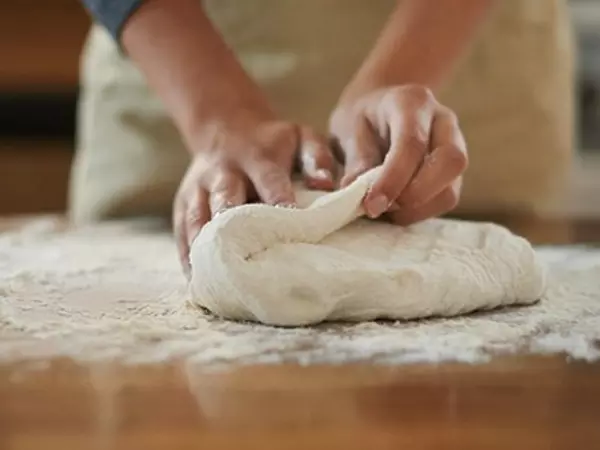
Kneading. Once you have all your ingredients combined, you must knead the dough to work the gluten (protein found in flour) and distribute the gases that develop from the yeast. Those gas bubbles are what make the spongy holes that you see in the bread. This is a very important step, and one that is often the most intimidating.
When you knead, you should have enough flour on your hands and on the surface you will be kneading on because the dough will start off sticky and messy. Remember to always knead with the ball of your hand. My oldest describes this step "like folding in a taco." That's really what you do: push the dough away from you with the ball of your hand and take the furthest away part and "fold" it back to you. You do this until the dough is smooth and not so sticky. It takes practice! There are a lot of videos online you can watch to help you perfect this skill.
Proofing. With successful kneading, you have set the environment for the sugar (if you added some) or carbohydrates in the flour to be eaten by the yeast. You must allow at least one to two hours for the bread to rise or "proof." If you are inpatient and don't allow the dough to proof long enough, then you will have a very dense final product.
I hope you are intrigued to start trying some dough making on your own! Try this simple no knead bread or wheat pizza dough recipe to get some practice and build your confidence with bread-making. Enjoy!
Related articles
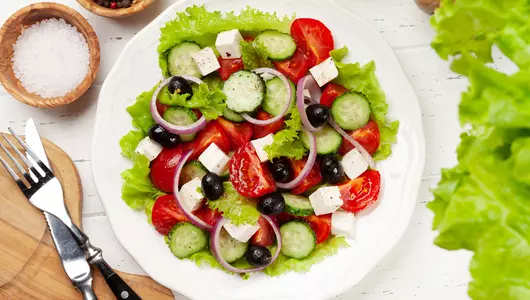
Greek salad recipe

Recipe: Sparkling strawberry mint mocktail
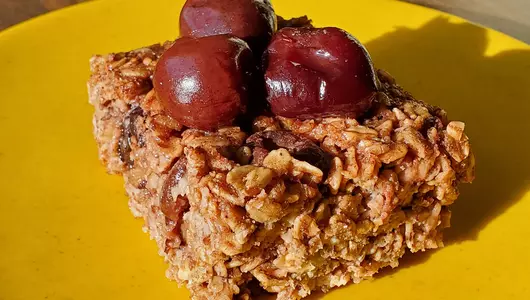
Chocolate cherry baked oatmeal recipe

Fresh ideas for fruit